The "Art Fridge" is LIVE!
A little project I had bouncing around in my brain has been finished! We have a ton of art from my son and I that is starting to overwhelm the fridge. So I thought, “why not build a website to host it all?”. Better yet, I came up with the idea of making the website into an infinite fridge door that can be added to over time. Check out the results here!
The Game Plan
I wanted the art fridge project to be simple so when I add images in future it will be as easy and streamlined as possible. Much like this site, the art fridge is meant to be easy and fun! To achieve this I took a leaf out of Jekyll’s book (I use Jekyll to build this site) and structured it around directories and a build script.
The top freezer door and intro are a Jekyll markdown file, the main HTML layout file, and some CSS to handle the image background and text styling. Pretty standard stuff! The artwork on the fridge however is a bit more complicated.
The most straightforward solution I could think of was to use a HTML table and a Python script that builds the table rows. The Python script loops through the directories that contain the artwork image files and checks for a JSON file with the same name as the image file. If a JSON file exists then the table row is created with two columns. The first is the image, and the second is the title, date, and description for the image. If there is no JSON available then the image will take up both columns in the table.
The Fun CSS and JS Bits
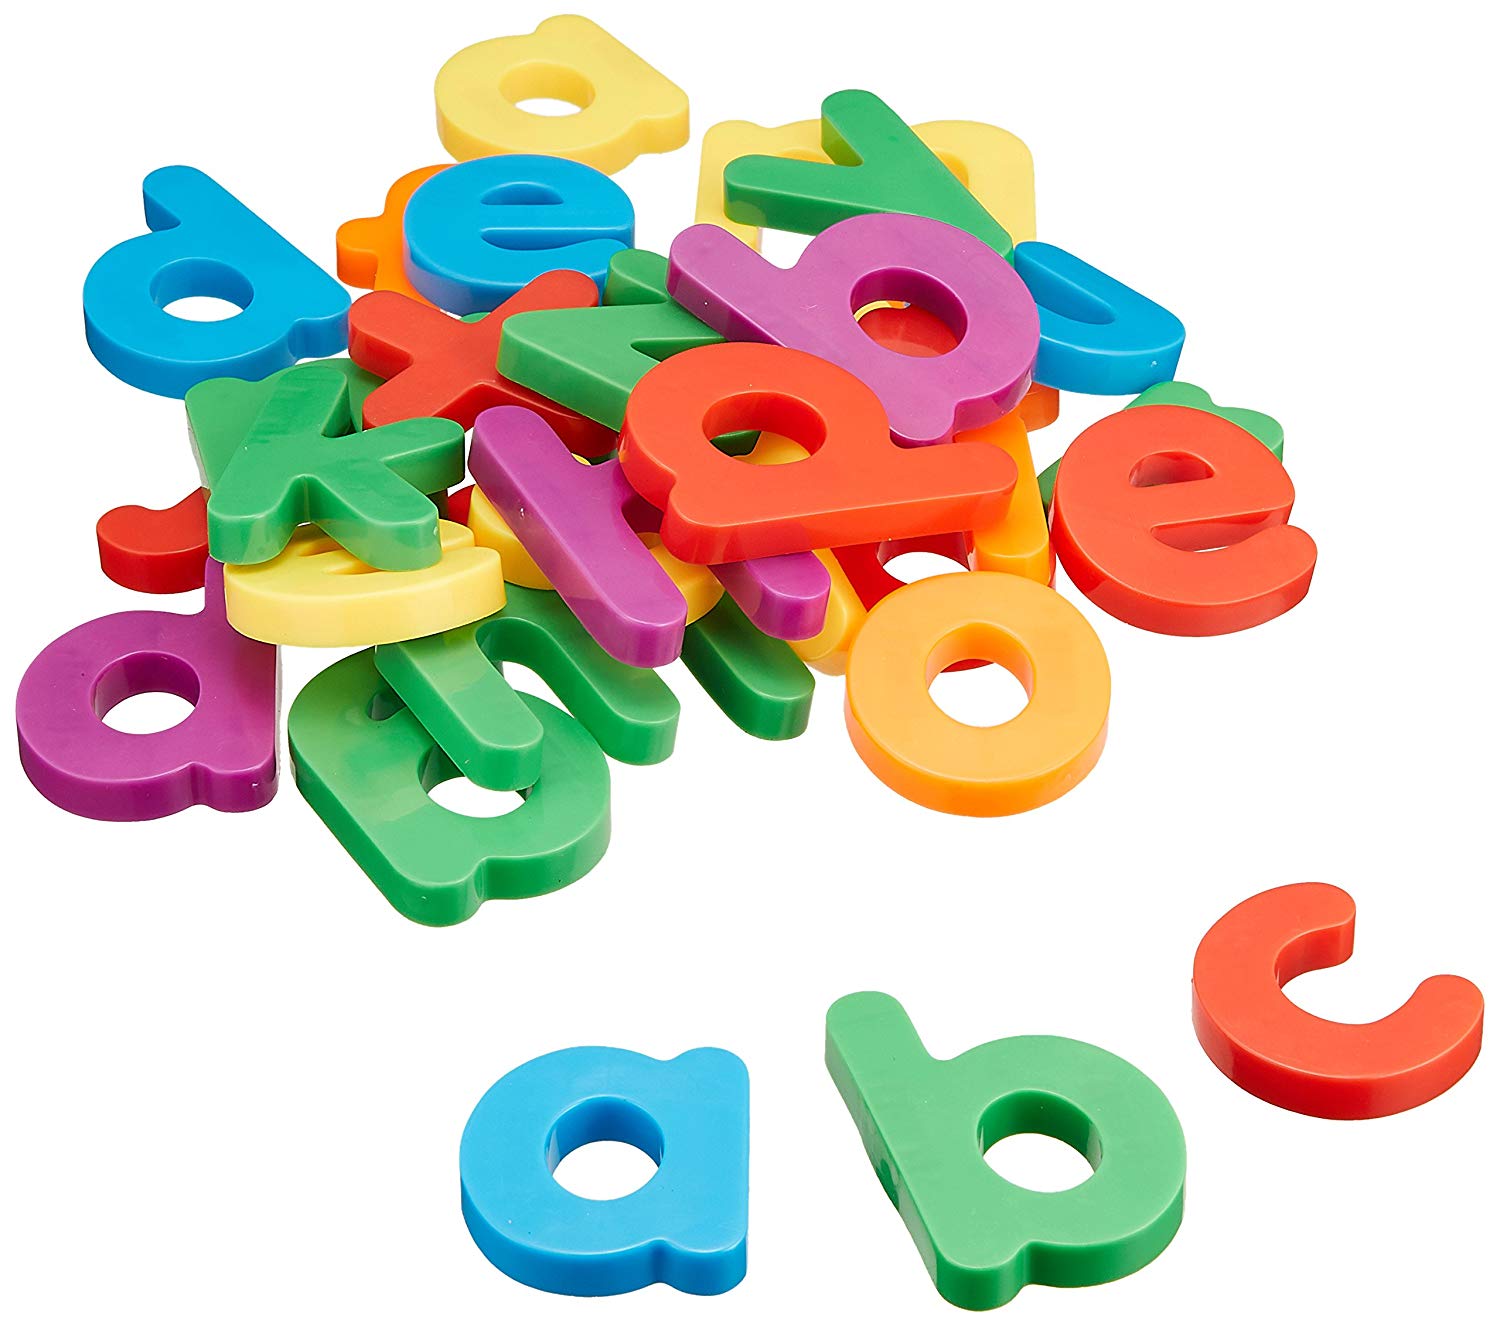
While working on the image title, date, and description CSS I came up with the idea for the magnetic letters font. Luckily, there are some available online! The font I used is Alpha Fridge Magnets by Gaut Fonts.
 While the plain colour font looks good, I wanted the letters to look more like
the multicolour magnets that you find on peoples fridges. This would require
some REALLY painful HTML, or some “only slightly” painful JavaScript. So I
dusted off my semi-colons and started hounding the w3schools site for JavaScript
syntax and functions!
The logic works like this:
- Get all the elements in the HTML with the matching CSS class.
- Loop over every element in the returned object.
- Loop over each character in the currently selected element.
- Build a new string that takes each character and wraps it in a
<span>tag with astyle="color: " + randomColour + ";"attached to it. - Replace the original HTML text with the new
<span>filled text. - Attach this whole function to the page
onloadtrigger and wait a looooong time for the page to load all it’s images before applying the colours to the text!
To create the random colour I used the built-in Math.random() and
Math.floor() functions and set the range between 0 and 255. Later I adjusted
the range so that the colours generated wouldn’t be too dark (looked odd) or too
light (couldn’t read against white background). Here’s the full code snippet for
colouring the text.
// Make each character a different colour
function colourAllText () {
  // Get an array of elements by class name
  let colourText = document.getElementsByClassName("rainbow-text");

  // Loop over each line of text
  for (let i = 0; i < colourText.length; i++) {
    let currentLine = colourText[i].innerHTML;
    let colourLine = "";

    // Iterate over each character in the string
    for (let char of currentLine) {
      // Create random colour
      let red = getRandomIntInclusive(30, 200);
      let green = getRandomIntInclusive(30, 200);
      let blue = getRandomIntInclusive(30, 200);
      let hexValue = "#" + red.toString(16) + green.toString(16) + blue.toString(16);

      let colourChar = "<span style=\"color: " + hexValue + ";\">" + char + "</span>";
      colourLine = colourLine + colourChar;
    }

    colourText[i].innerHTML = colourLine;
  }
}
And this is the random RGB number generator function I used.
function getRandomIntInclusive(min, max) {
  const minCeiled = Math.ceil(min);
  const maxFloored = Math.floor(max);

  // The maximum is inclusive and the minimum is inclusive
  return Math.floor(Math.random() * (maxFloored - minCeiled + 1) + minCeiled);
}
The pictures are also hung at random angles to make them look more like they have been slapped onto a fridge. The JS for this just randomly applies a rotation angle to the image after the page has loaded.
function randomRotateImages () {
  let allImages = document.getElementsByClassName("img-rot");

  for (let i = 0; i < allImages.length; i++) {
    let angle = Math.floor(getRandomIntInclusive(0, 10) - 5);
    allImages[i].style.transform = "rotate(" + angle + "deg)";
  }
}
Conclusion
This project was really fun to do and I am super happy with how it came out! Now I can easily update the site with more artwork over time, and I can share it with the Grandparents and other family members easily! Now I’m off to make some more art 🎨🖌